How to Proceed with This Book and Environment Setup
Web Playground
This book provides a Web Playground where you can try the implementation code for each chapter directly in your browser. You can edit and run code immediately without any environment setup, so try experiencing chibivue in action here first!
How to Start the Playground
$ git clone https://github.com/chibivue-land/chibivue
$ cd chibivue
$ pnpm install
$ pnpm play
Access the URL displayed in your browser (e.g., http://localhost:5173/) to launch the Playground.
Playground Layout
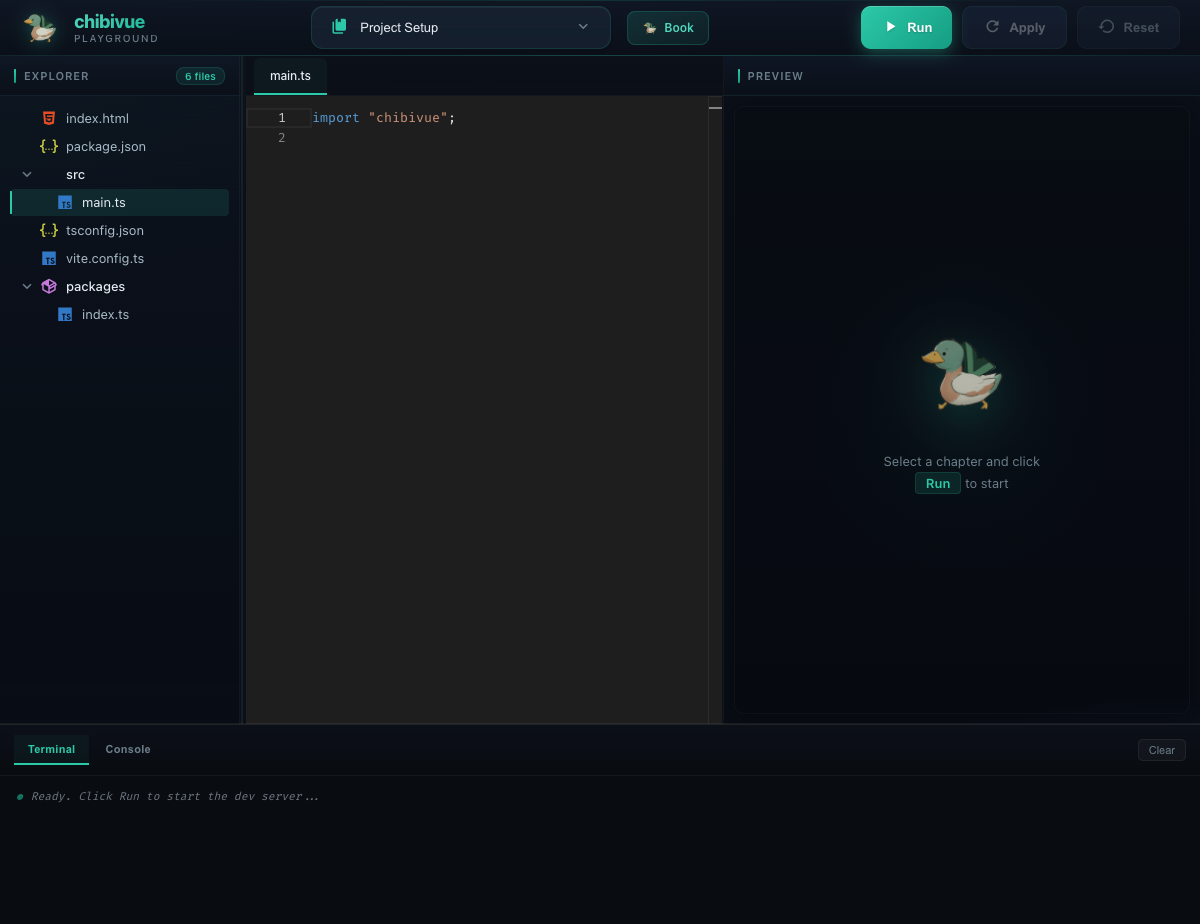
The Playground consists of four areas:
| Area | Description |
|---|---|
| Explorer (left) | Displays the project file tree. Click a file to open it in the editor |
| Editor (center) | Edit code with Monaco Editor |
| Preview (right) | Shows a preview of the dev server running on WebContainer |
| Terminal / Console (bottom) | View terminal output and console.log contents |
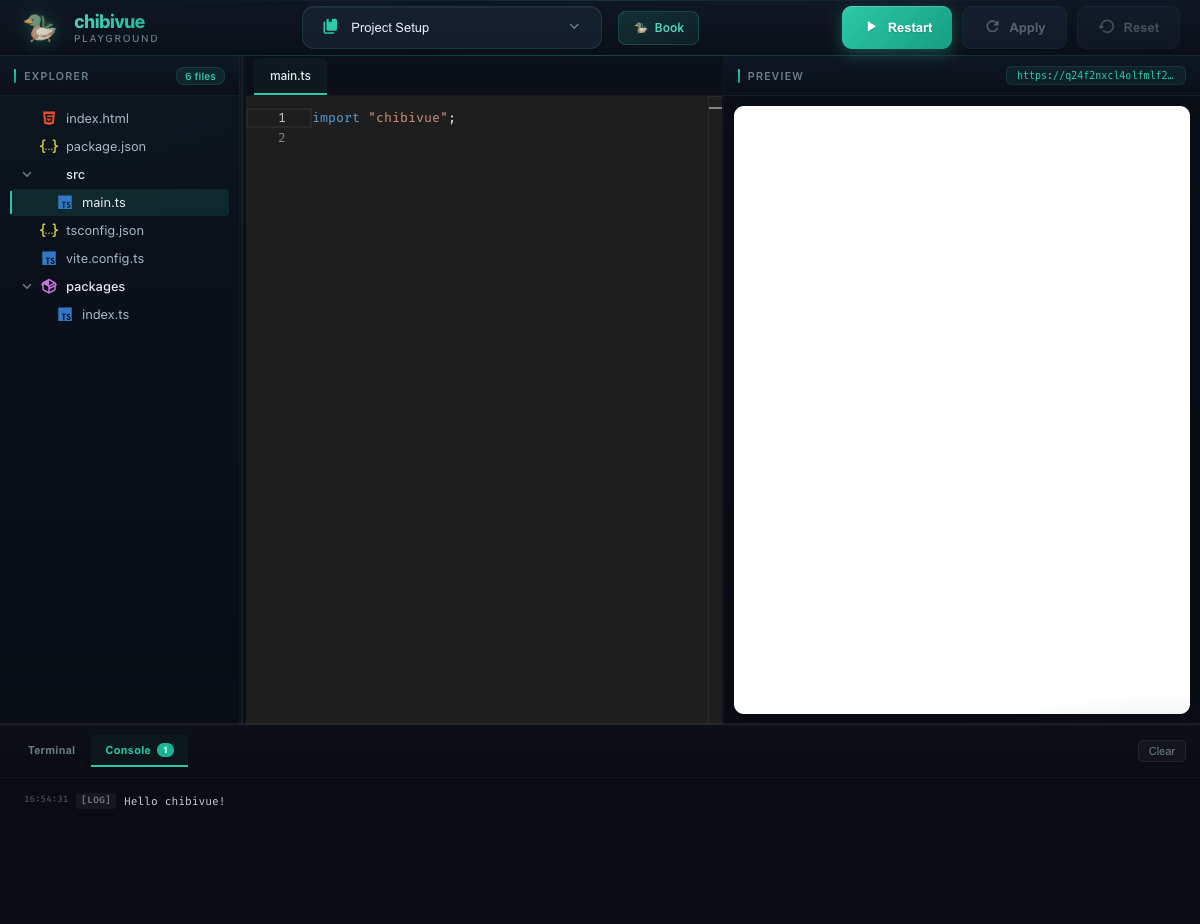
How to Use
Select a chapter Select the chapter you want to study from the dropdown at the top of the screen. You can also filter chapter names using the search box.
Click Run Click the "Run" button to start WebContainer, install dependencies, and start the dev server. It takes a little time the first run, but after a while, the results will be displayed in the Preview area.
Edit the code Edit the code in the editor and click the "Apply" button to apply your changes. Changes are reflected in real-time via HMR (Hot Module Replacement).
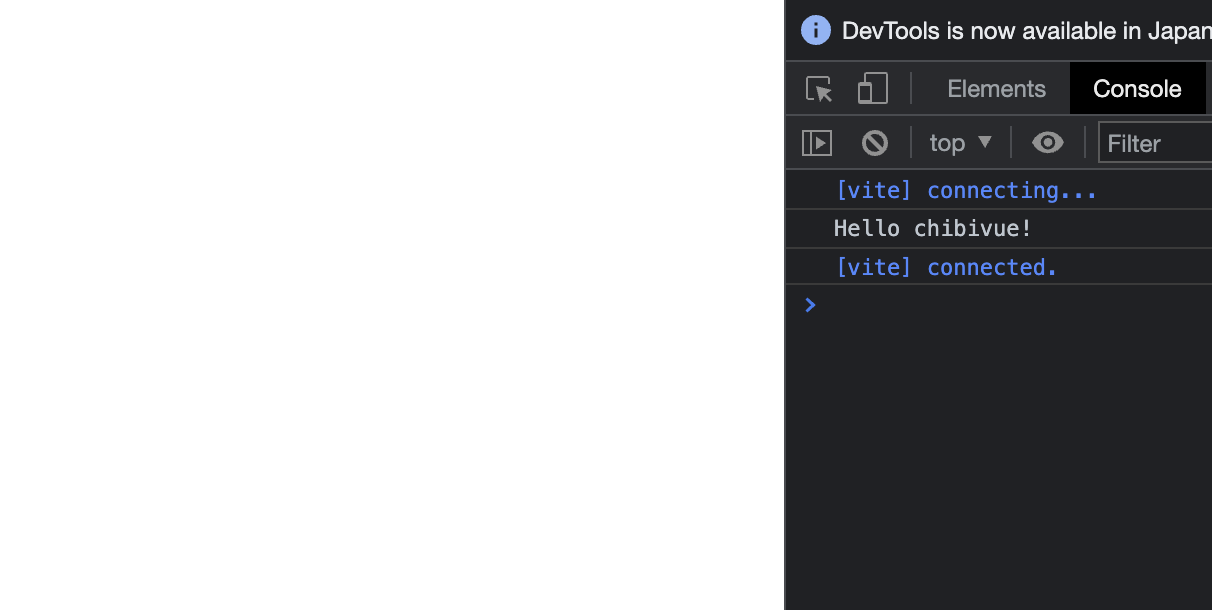
Check the console Click the "Console" tab to view output from console.log and other sources.
TIP
The Web Playground uses WebContainer. It may not work in some browsers or environments. In that case, please refer to the local environment setup below.
How to Proceed with This Book
We will promptly start with a simple implementation of Vue.js. Here are some points to keep in mind, precautions, and other essential information:
- The project name will be "chibivue." We will refer to the basic Vue.js implementations covered in this book as "chibivue."
- As initially mentioned, our primary approach will be "repeating small developments."
- Source codes for each phase are included in the appendix of this book and can be found at https://github.com/chibivue-land/chibivue/tree/main/book/impls. We will not provide detailed explanations for all the source code in the book, so please refer to the appendix as needed.
- The final code depends on several packages. A common issue with DIY content is the debate over "how much one should implement by hand to call it homemade." While we won't write all source code by hand in this book, we will actively use packages similar to those used in Vue.js's official code. For example, we'll use Babel. Rest assured, we aim to make this book as beginner-friendly as possible, providing minimal explanations for necessary packages.
Environment Setup
Now, let's quickly move on to setting up the environment!
I'll list the tools and versions we'll be using:
- Runtime: Node.js v24
- Language: TypeScript
- Package Manager: pnpm v10
- Build Tool: Vite v8
Installing Node.js
Most of you are probably familiar with this step. Please set it up on your own. We will skip the detailed explanation here.
Installing pnpm
Many of you might typically use npm or yarn. For this book, we will be using pnpm, so please install it as well. The commands are mostly similar to npm. https://pnpm.io/installation
Creating the Project
Quick Start for those in a hurry ...
Although I'll be explaining the steps to create a project manually, there's actually a tool prepared for the setup.
If you find the manual process tedious, please feel free to use this tool!
Clone chibivue.
sh$ git clone https://github.com/chibivue-land/chibivueExecute the script.
Enter the path of the directory you want to set up.sh$ cd chibivue $ pnpm setup:book ../my-chibivue-project
Create the project in any directory of your choice. For convenience, we'll denote the project's root path as ~ (e.g., ~/src/main.ts).
This time, we will separate the main "chibivue" from a playground to test its functionality. The playground will simply invoke "chibivue" and bundle it with Vite. We anticipate a structure like this.
~
|- examples
|    |- playground
|
|- packages
|- tsconfig.js
We will implement the playground in a directory named "examples." We will implement the core TypeScript files for chibivue in "packages" and import them from the example side.
Below are the steps to construct it.
Building the Main Project
## Please create a directory specifically for chibivue and navigate into it. (Such notes will be omitted hereafter.)
pwd # ~/
pnpm init
pnpm add -D @types/node
mkdir packages
touch packages/index.ts
touch tsconfig.json
Contents of tsconfig.json
{
  "compilerOptions": {
    "target": "ES2020",
    "module": "ES2020",
    "lib": ["DOM", "ES2020"],
    "strict": true,
    "paths": {
      "chibivue": ["./packages"]
    },
    "moduleResolution": "Bundler",
    "allowJs": true,
    "esModuleInterop": true
  },
  "include": ["packages/**/*.ts", "examples/**/**.ts"],
  "exclude": ["node_modules", "dist"]
}
Contents of packages/index.ts
console.log("Hello, World")### Building the Playground Side
pwd # ~/
mkdir examples
cd examples
pnpm dlx create-vite

## --------- Setting up with the Vite CLI
## Project name: playground
## Select a framework: Vanilla
## Select a variant: TypeScript
Remove unnecessary items from the project created with Vite.
pwd # ~/examples/playground
rm -rf public
rm -rf src # We will recreate it since there are unnecessary files.
mkdir src
touch src/main.ts
Contents of src/main.ts
※ For now, there will be an error after "from," but we will address this in the upcoming steps, so it's not a problem.
import "chibivue"Modify index.html as follows.
<!doctype html>
<html lang="en">
  <head>
    <meta charset="UTF-8" />
    <meta name="viewport" content="width=device-width, initial-scale=1.0" />
    <title>chibivue</title>
  </head>

  <body>
    <div id="app"></div>
    <script type="module" src="/src/main.ts"></script>
  </body>
</html>
Configure an alias in the Vite project to be able to import what you implemented in chibivue.
pwd # ~/examples/playground
touch vite.config.js
Contents of vite.config.js
import path from 'node:path'
import { fileURLToPath } from 'node:url'
import { defineConfig } from 'vite'

const dirname = path.dirname(fileURLToPath(new URL(import.meta.url)))
export default defineConfig({
  resolve: {
    alias: {
      chibivue: path.resolve(dirname, '../../packages'),
    },
  },
})
Modify tsconfig.json as follows.
{
  "compilerOptions": {
    "target": "ESNext",
    "useDefineForClassFields": true,
    "module": "ESNext",
    "lib": ["ESNext", "DOM"],
    "moduleResolution": "Node",
    "strict": true,
    "resolveJsonModule": true,
    "isolatedModules": true,
    "esModuleInterop": true,
    "noEmit": true,
    "noUnusedLocals": true,
    "noUnusedParameters": true,
    "noImplicitReturns": true,
    "skipLibCheck": true,
    "paths": {
      "chibivue": ["../../packages"]
    }
  },
  "include": ["src"]
}
Lastly, let's add a command to the package.json of the chibivue project to launch the playground and try starting it!
Append the following to ~/package.json
{
  "scripts": {
    "dev": "cd examples/playground && pnpm i && pnpm run dev"
  }
}pwd # ~
pnpm devAccess the developer server that started with this command. If a message displays, then the setup is complete.
Source code up to this point:
chibivue (GitHub)