テンプレートコンパイラを実装する
実装アプローチ
基本的なアプローチとしては,template オプションで渡された文字列を操作して特定の関数を生成する感じです.
コンパイラを3つの要素に分割してみます.
解析
解析 (parse) は渡された文字列から必要な情報を解析します.
以下のようなイメージをしてもらえれば OK です.
const { tag, props, textContent } = parse(`<p class="hello">Hello World</p>`)
console.log(tag) // "p"
console.log(prop) // { class: "hello" }
console.log(textContent) // "Hello World"
コード生成
コード生成(codegen)では parse の結果をもとにコード(文字列)を生成します.
const code = codegen({ tag, props, textContent })
console.log(code) // "h('p', { class: 'hello' }, ['Hello World']);"
関数オブジェクト生成
codegen で生成したコード(文字列)をもとに実際に実行可能な関数を生成します.
JavaScript では,Function コンストラクタを利用することで文字列から関数を生成することが可能です.
const f = new Function('return 1')
console.log(f()) // 1

// 引数を定義する場合はこんな感じ
const add = new Function('a', 'b', 'return a + b')
console.log(add(1, 1)) // 2
これを利用して関数を生成します.
ここで一点注意点があるのですが,生成した関数はその中で定義された変数しか扱うことができないので,h 関数などの読み込みもこれに含んであげます.
import * as runtimeDom from './runtime-dom'
const render = new Function('ChibiVue', code)(runtimeDom)
こうすると,ChibiVue という名前で runtimeDom を受け取ることができるので,codegen の段階で以下のように h 関数を読み込めるようにしておきます.
const code = codegen({ tag, props, textContent })
console.log(code) // "return () => { const { h } = ChibiVue; return h('p', { class: 'hello' }, ['Hello World']); }"
つまり,先ほど,
`<p class="hello">Hello World</p>`
// ↓
h('p', { class: 'hello' }, ['Hello World'])
のように変換すると言いましたが,正確には,
`<p class="hello">Hello World</p>`

// ↓

ChibiVue => {
  return () => {
    const { h } = ChibiVue
    return h('p', { class: 'hello' }, ['Hello World'])
  }
}
のように変換し,runtimeDom を渡して render 関数を生成します.
そして,codegen の責務は
const code = `
  return () => {
      const { h } = ChibiVue;
      return h("p", { class: "hello" }, ["Hello World"]);
  };
`
という文字列を生成することです.
実装
アプローチが理解できたら早速実装してみましょう.~/packages に compiler-core というディレクトリを作ってそこに index.ts, parse.ts, codegen.ts を作成します.
pwd # ~/
mkdir packages/compiler-core
touch packages/compiler-core/index.ts
touch packages/compiler-core/parse.ts
touch packages/compiler-core/codegen.ts
index.ts は例の如く export するためだけに利用します.
それでは parse から実装していきましょう.packages/compiler-core/parse.ts
export const baseParse = (
  content: string,
): { tag: string; props: Record<string, string>; textContent: string } => {
  const matched = content.match(/<(\w+)\s+([^>]*)>([^<]*)<\/\1>/)
  if (!matched) return { tag: '', props: {}, textContent: '' }

  const [_, tag, attrs, textContent] = matched

  const props: Record<string, string> = {}
  attrs.replace(/(\w+)=["']([^"']*)["']/g, (_, key: string, value: string) => {
    props[key] = value
    return ''
  })

  return { tag, props, textContent }
}
正規表現を使った非常に簡素なパーサではありますが,初めての実装としては十分です.
続いて,コードの生成です.codegen.ts に実装していきます.packages/compiler-core/codegen.ts
export const generate = ({
  tag,
  props,
  textContent,
}: {
  tag: string
  props: Record<string, string>
  textContent: string
}): string => {
  return `return () => {
  const { h } = ChibiVue;
  return h("${tag}", { ${Object.entries(props)
    .map(([k, v]) => `${k}: "${v}"`)
    .join(', ')} }, ["${textContent}"]);
}`
}
それでは,これらを組み合わせて template から関数の文字列を生成する関数を実装します.packages/compiler-core/compile.ts というファイルを新たに作成します.packages/compiler-core/compile.ts
import { generate } from './codegen'
import { baseParse } from './parse'

export function baseCompile(template: string) {
  const parseResult = baseParse(template)
  const code = generate(parseResult)
  return code
}
特に難しくないかと思います.実は,compiler-core の責務はここまでです.
ランタイム上のコンパイラとビルドプロセスのコンパイラ
実は Vue にはコンパイラが 2 種類存在しています.
それは,ランタイム上(ブラウザ上)で実行されるものと,ビルドプロセス上(Node.js など)で実行されるものです.
具体的には,ランタイムの方は template オプションまたは html として与えられるテンプレートのコンパイラ,ビルドプロセス上は SFC(や jsx)のコンパイラです.
template オプションとはちょうど今我々が実装しているものです.
const app = createApp({ template: `<p class="hello">Hello World</p>` })
app.mount('#app')<div id="app"></div>html として与えられるテンプレートというのは html に Vue の template を書くような開発者インタフェースです.(CDN 経由などでサクッと HTML に盛り込むのに便利です.)
const app = createApp()
app.mount('#app')<div id="app">
<p class="hello">Hello World</p>
<button @click="() => alert('hello')">click me!</button>
</div>これら 2 つはどちらも template をコンパイルする必要がありますが,コンパイルはブラウザ上で実行されます.
一方で,SFC のコンパイルはプロジェクトのビルド時に行われ,ランタイム上にはコンパイル後のコードしか存在していません.(開発環境に vite や webpack 等のバンドラを用意する必要があります.)
<!-- App.vue -->
<script>
export default {}
</script>

<template>
  <p class="hello">Hello World</p>
  <button @click="() => alert("hello")">click me!</button>
</template>import App from 'App.vue'
const app = createApp(App)
app.mount('#app')<div id="app"></div>そして,注目するべき点はどっちのコンパイラにせよ,共通の処理という点です.
この共通部分のソースコードを実装しているのが compiler-core ディレクトリです.
そして,ランタイム上のコンパイラ,SFC コンパイラはそれぞれcompiler-dom, compiler-sfcというディレクトリに実装されています.
ぜひ,ここらでこの図を見返してみてください.
https://github.com/vuejs/core/blob/main/.github/contributing.md#package-dependencies
実装の続き
少し話が飛んでしまいましたが,実装の続きをやっていきましょう.
先ほどの話を考慮すると,今作っているのはランタイム上で動作するコンパイラなので,compiler-domを作っていくのが良さそうです.
pwd # ~/
mkdir packages/compiler-dom
touch packages/compiler-dom/index.tspackages/compiler-dom/index.tsに実装します.
import { baseCompile } from '../compiler-core'

export function compile(template: string) {
  return baseCompile(template)
}
「えっっっっ,これじゃあただ codegen しただけじゃん.関数の生成はどうするの?」と思ったかも知れません.
実はここでも関数の生成は行なっておらず,どこで行うかというとpackages/index.tsです.(本家のコードで言うと packages/vue/src/index.ts です)
packages/index.tsを実装したいところですが,ちょいと下準備があるので先にそちらからやります.
その下準備というのは,packages/runtime-core/component.tsにコンパイラ本体を保持する変数と,登録用の関数の実装です.
packages/runtime-core/component.ts
type CompileFunction = (template: string) => InternalRenderFunction
let compile: CompileFunction | undefined

export function registerRuntimeCompiler(_compile: any) {
  compile = _compile
}それでは,packages/index.tsで関数の生成をして,登録してあげましょう.
import { compile } from './compiler-dom'
import { InternalRenderFunction, registerRuntimeCompiler } from './runtime-core'
import * as runtimeDom from './runtime-dom'

function compileToFunction(template: string): InternalRenderFunction {
  const code = compile(template)
  return new Function('ChibiVue', code)(runtimeDom)
}

registerRuntimeCompiler(compileToFunction)

export * from './runtime-core'
export * from './runtime-dom'
export * from './reactivity'
※ runtimeDom には h 関数を含める必要があるので runtime-dom で export するのを忘れないようにしてください.
export { h } from '../runtime-core'さて,コンパイラの登録ができたので実際にコンパイルを実行したいです.
コンポーネントのオプションの型に template がなくては始まらないのでとりあえず template は生やしておきます.
export type ComponentOptions = {
  props?: Record<string, any>
  setup?: (
    props: Record<string, any>,
    ctx: { emit: (event: string, ...args: any[]) => void },
  ) => Function
  render?: Function
  template?: string // 追加
}
肝心のコンパイルですが,renderer を少しリファクタする必要があります.
const mountComponent = (initialVNode: VNode, container: RendererElement) => {
  const instance: ComponentInternalInstance = (initialVNode.component =
    createComponentInstance(initialVNode))

  // ----------------------- ここから
  const { props } = instance.vnode
  initProps(instance, props)
  const component = initialVNode.type as Component
  if (component.setup) {
    instance.render = component.setup(instance.props, {
      emit: instance.emit,
    }) as InternalRenderFunction
  }
  // ----------------------- ここまで

  setupRenderEffect(instance, initialVNode, container)
}
mountComponent の上記に示した部分を packages/runtime-core/component.ts に切り出します.
packages/runtime-core/component.ts
export const setupComponent = (instance: ComponentInternalInstance) => {
  const { props } = instance.vnode
  initProps(instance, props)

  const component = instance.type as Component
  if (component.setup) {
    instance.render = component.setup(instance.props, {
      emit: instance.emit,
    }) as InternalRenderFunction
  }
}
packages/runtime-core/renderer.ts
const mountComponent = (initialVNode: VNode, container: RendererElement) => {
  // prettier-ignore
  const instance: ComponentInternalInstance = (initialVNode.component = createComponentInstance(initialVNode));
  setupComponent(instance)
  setupRenderEffect(instance, initialVNode, container)
}
それでは,setupComponent 内でコンパイルを実行していきましょう.
export const setupComponent = (instance: ComponentInternalInstance) => {
  const { props } = instance.vnode
  initProps(instance, props)

  const component = instance.type as Component
  if (component.setup) {
    instance.render = component.setup(instance.props, {
      emit: instance.emit,
    }) as InternalRenderFunction
  }

  // ------------------------ ここ
  if (compile && !component.render) {
    const template = component.template ?? ''
    if (template) {
      instance.render = compile(template)
    }
  }
}
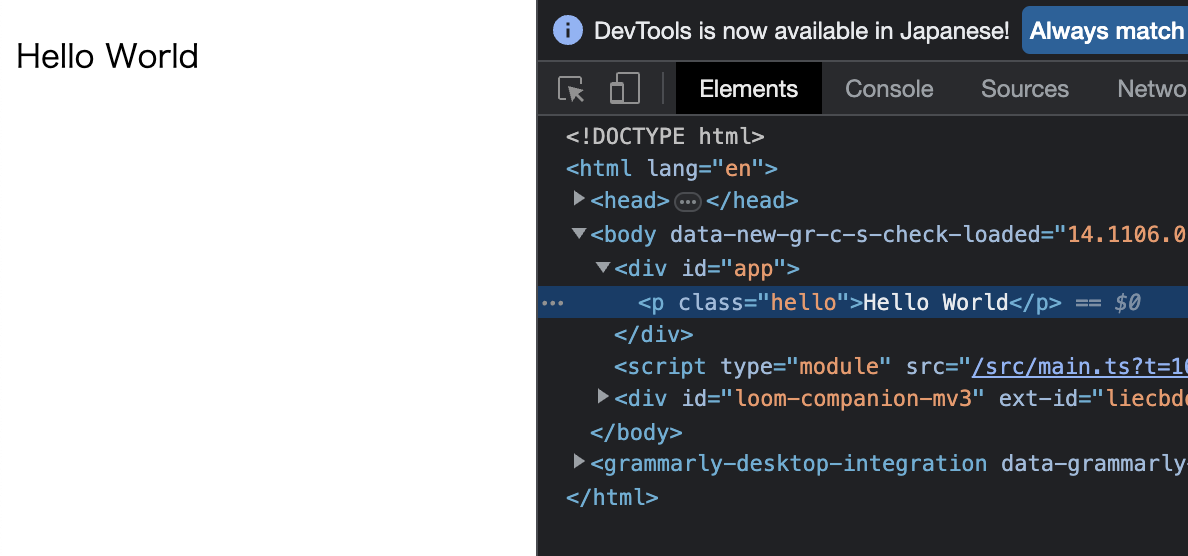
これで template オプションで渡した簡素な HTML がコンパイルできるようになったはずなので playground で試してみましょう!
const app = createApp({ template: `<p class="hello">Hello World</p>` })
app.mount('#app')
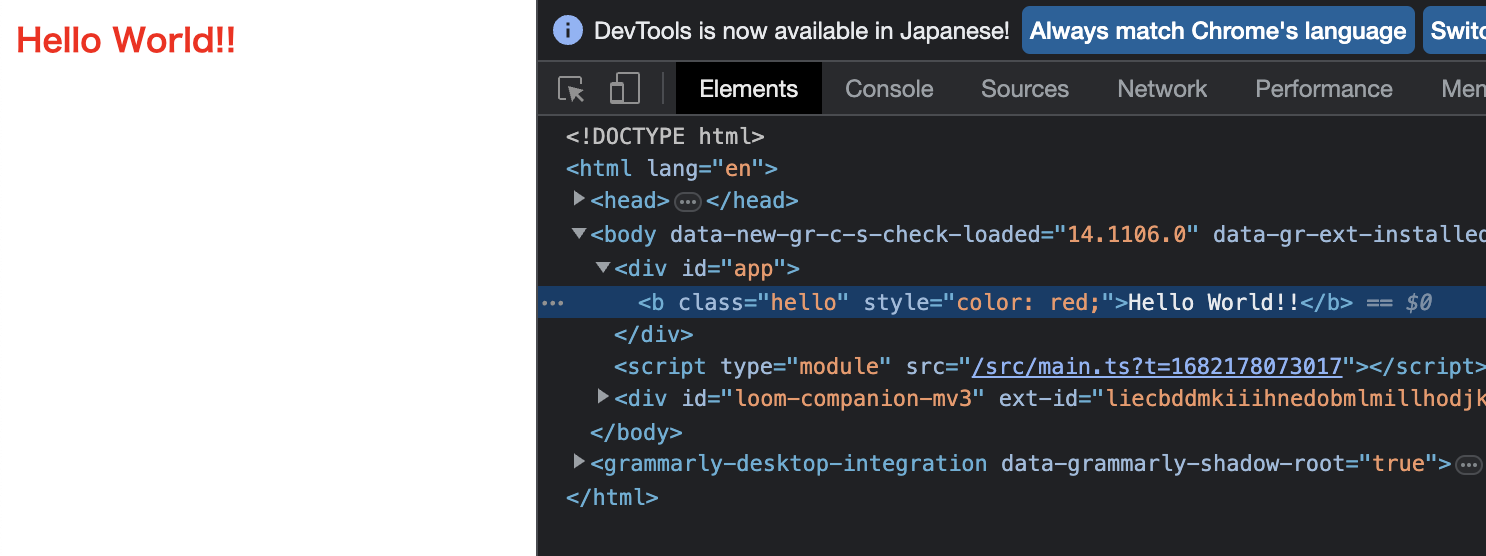
無事に動いているようです.同じ構造であればコンパイルできるはずなので,少しいじってみて反映されるか確認してみましょう.
const app = createApp({
  template: `<b class="hello" style="color: red;">Hello World!!</b>`,
})
app.mount('#app')
ちゃんと実装できているようです!
ここまでのソースコード:
chibivue (GitHub)
