實現模板編譯器
實現方法
基本方法是操作通過 template 選項傳遞的字串來生成特定函式.
讓我們將編譯器分為三個元素.
解析
解析涉及從給定字串中提取必要資訊.您可以這樣想:
const { tag, props, textContent } = parse(`<p class="hello">Hello World</p>`)
console.log(tag) // "p"
console.log(prop) // { class: "hello" }
console.log(textContent) // "Hello World"
程式碼生成
程式碼生成基於解析結果生成程式碼(字串).
const code = codegen({ tag, props, textContent })
console.log(code) // "h('p', { class: 'hello' }, ['Hello World']);"
函式物件生成
函式物件生成基於 codegen 生成的程式碼(字串)創建可執行函式.
在 JavaScript 中,您可以使用 Function 建構函式從字串生成函式.
const f = new Function('return 1')
console.log(f()) // 1

// 如果您想定義參數,可以這樣做
const add = new Function('a', 'b', 'return a + b')
console.log(add(1, 1)) // 2
我們將使用這個來生成函式.
這裡需要注意的一點是,生成的函式只能處理在其內部定義的變數,所以我們需要在其中包含 h 函式等函式的匯入.
import * as runtimeDom from './runtime-dom'
const render = new Function('ChibiVue', code)(runtimeDom)
通過這樣做,我們可以將 runtimeDom 作為 ChibiVue 接收,並在 codegen 階段包含 h 函式,如下所示:
const code = codegen({ tag, props, textContent })
console.log(code) // "return () => { const { h } = ChibiVue; return h('p', { class: 'hello' }, ['Hello World']); }"
換句話說,之前我們說我們會這樣轉換:
;`<p class="hello">Hello World</p>`
// ↓
h('p', { class: 'hello' }, ['Hello World'])
但準確地說,我們這樣轉換:
;`<p class="hello">Hello World</p>`

// ↓

ChibiVue => {
  return () => {
    const { h } = ChibiVue
    return h('p', { class: 'hello' }, ['Hello World'])
  }
}
並傳遞 runtimeDom 來生成 render 函式.
codegen 的責任是生成以下字串:
const code = `
  return () => {
      const { h } = ChibiVue;
      return h("p", { class: "hello" }, ["Hello World"]);
  };
`
實現
一旦您理解了方法,讓我們實現它.
在 ~/packages 中創建一個名為 compiler-core 的目錄,並在其中創建 index.ts,parse.ts 和 codegen.ts.
pwd # ~/
mkdir packages/compiler-core
touch packages/compiler-core/index.ts
touch packages/compiler-core/parse.ts
touch packages/compiler-core/codegen.ts
index.ts 像往常一樣只用於匯出.
現在讓我們從 parse 開始實現. packages/compiler-core/parse.ts
export const baseParse = (
  content: string,
): { tag: string; props: Record<string, string>; textContent: string } => {
  const matched = content.match(/<(\w+)\s+([^>]*)>([^<]*)<\/\1>/)
  if (!matched) return { tag: '', props: {}, textContent: '' }

  const [_, tag, attrs, textContent] = matched

  const props: Record<string, string> = {}
  attrs.replace(/(\w+)=["']([^"']*)["']/g, (_, key: string, value: string) => {
    props[key] = value
    return ''
  })

  return { tag, props, textContent }
}
雖然這是一個使用正規表示式的非常簡單的解析器,但對於第一次實現來說已經足夠了.
接下來,讓我們生成程式碼.在 codegen.ts 中實現它.packages/compiler-core/codegen.ts
export const generate = ({
  tag,
  props,
  textContent,
}: {
  tag: string
  props: Record<string, string>
  textContent: string
}): string => {
  return `return () => {
  const { h } = ChibiVue;
  return h("${tag}", { ${Object.entries(props)
    .map(([k, v]) => `${k}: "${v}"`)
    .join(', ')} }, ["${textContent}"]);
}`
}
現在,讓我們實現一個通過組合這些從模板生成函式字串的函式.
創建一個名為 packages/compiler-core/compile.ts 的新檔案.
packages/compiler-core/compile.ts
import { generate } from './codegen'
import { baseParse } from './parse'

export function baseCompile(template: string) {
  const parseResult = baseParse(template)
  const code = generate(parseResult)
  return code
}這應該不會太困難.實際上,compiler-core 的責任到此結束.
執行時編譯器和建置過程編譯器
實際上,Vue 有兩種類型的編譯器.
一種是在執行時(在瀏覽器中)執行的編譯器,另一種是在建置過程中(如 Node.js)執行的編譯器.
具體來說,執行時編譯器負責編譯 template 選項或作為 HTML 提供的模板,而建置過程編譯器負責編譯 SFC(或 JSX).
我們當前實現的 template 選項屬於前者.
const app = createApp({ template: `<p class="hello">Hello World</p>` })
app.mount('#app')<div id="app"></div>作為 HTML 提供的模板是一個開發者介面,您可以在 HTML 中編寫 Vue 模板.
(通過 CDN 等快速將其合併到 HTML 中很方便.)
const app = createApp()
app.mount('#app')<div id="app">
<p class="hello">Hello World</p>
<button @click="() => alert('hello')">click me!</button>
</div>這兩種都需要編譯,但編譯是在瀏覽器中執行的.
另一方面,SFC 編譯在專案建置期間執行,執行時只存在編譯後的程式碼.
(您需要在開發環境中設定 Vite 或 webpack 等打包器.)
<!-- App.vue -->
<script>
export default {}
</script>

<template>
  <p class="hello">Hello World</p>
  <button @click="() => alert("hello")">click me!</button>
</template>import App from 'App.vue'
const app = createApp(App)
app.mount('#app')<div id="app"></div>需要注意的重要一點是,兩個編譯器共享公共處理.
這個公共部分的原始碼在 compiler-core 目錄中實現.
執行時編譯器和 SFC 編譯器分別在 compiler-dom 和 compiler-sfc 目錄中實現.
請再次查看這個圖表.
https://github.com/vuejs/core/blob/main/.github/contributing.md#package-dependencies
繼續實現
我們跳得有點快,但讓我們繼續實現.
雖然我想實現 packages/index.ts,但有一些準備工作要做,所以讓我們先做那個.
準備工作是在 packages/runtime-core/component.ts 中實現一個變數來保存編譯器本身,以及一個註冊函式.
packages/runtime-core/component.ts
type CompileFunction = (template: string) => InternalRenderFunction
let compile: CompileFunction | undefined

export function registerRuntimeCompiler(_compile: any) {
  compile = _compile
}
現在,讓我們在 packages/index.ts 中生成函式並註冊它.
import { compile } from './compiler-dom'
import { InternalRenderFunction, registerRuntimeCompiler } from './runtime-core'
import * as runtimeDom from './runtime-dom'

function compileToFunction(template: string): InternalRenderFunction {
  const code = compile(template)
  return new Function('ChibiVue', code)(runtimeDom)
}

registerRuntimeCompiler(compileToFunction)

export * from './runtime-core'
export * from './runtime-dom'
export * from './reactivity'
※ 不要忘記從 runtime-dom 匯出 h 函式,因為它需要包含在 runtimeDom 中.
export { h } from '../runtime-core'現在編譯器已註冊,讓我們實際執行編譯.
由於組件選項類型中需要模板,讓我們現在添加模板.
export type ComponentOptions = {
  props?: Record<string, any>
  setup?: (
    props: Record<string, any>,
    ctx: { emit: (event: string, ...args: any[]) => void },
  ) => Function
  render?: Function
  template?: string // 添加
}
現在,讓我們編譯重要部分.
const mountComponent = (initialVNode: VNode, container: RendererElement) => {
  const instance: ComponentInternalInstance = (initialVNode.component =
    createComponentInstance(initialVNode))

  // ----------------------- 從這裡
  const { props } = instance.vnode
  initProps(instance, props)
  const component = initialVNode.type as Component
  if (component.setup) {
    instance.render = component.setup(instance.props, {
      emit: instance.emit,
    }) as InternalRenderFunction
  }
  // ----------------------- 到這裡

  setupRenderEffect(instance, initialVNode, container)
}
我們將在 packages/runtime-core/component.ts 中提取上述部分.
packages/runtime-core/component.ts
export const setupComponent = (instance: ComponentInternalInstance) => {
  const { props } = instance.vnode
  initProps(instance, props)

  const component = instance.type as Component
  if (component.setup) {
    instance.render = component.setup(instance.props, {
      emit: instance.emit,
    }) as InternalRenderFunction
  }
}
packages/runtime-core/renderer.ts
const mountComponent = (initialVNode: VNode, container: RendererElement) => {
  // prettier-ignore
  const instance: ComponentInternalInstance = (initialVNode.component = createComponentInstance(initialVNode));
  setupComponent(instance)
  setupRenderEffect(instance, initialVNode, container)
}
現在,讓我們在 setupComponent 函式內部執行編譯.
export const setupComponent = (instance: ComponentInternalInstance) => {
  const { props } = instance.vnode
  initProps(instance, props)

  const component = instance.type as Component
  if (component.setup) {
    instance.render = component.setup(instance.props, {
      emit: instance.emit,
    }) as InternalRenderFunction
  }

  // ------------------------ 這裡
  if (compile && !component.render) {
    const template = component.template ?? ''
    if (template) {
      instance.render = compile(template)
    }
  }
}
現在,我們應該能夠使用 template 選項編譯簡單的 HTML.
讓我們在遊樂場中試試!
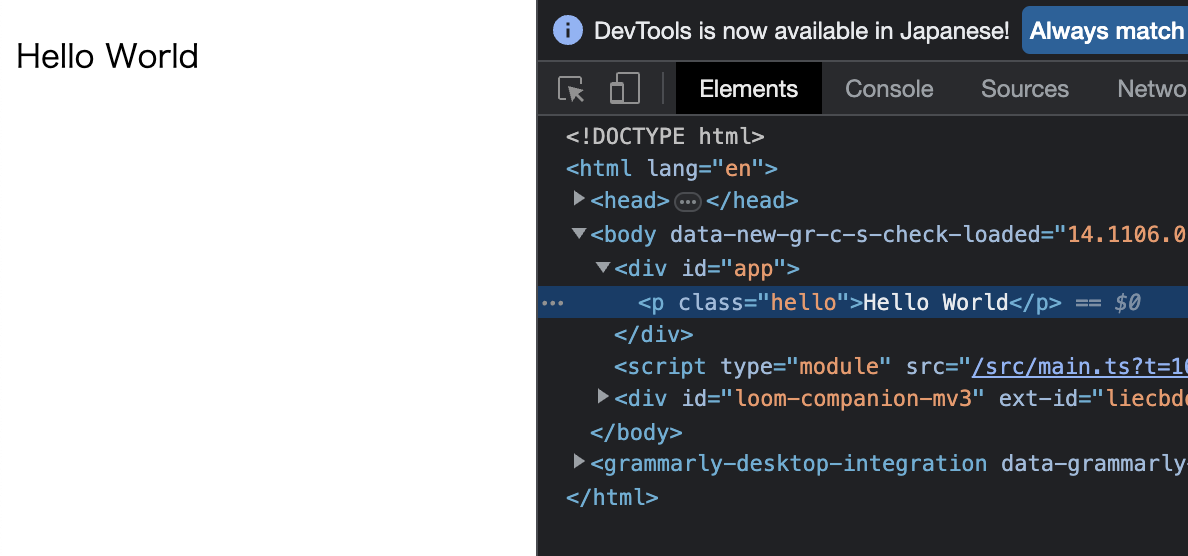
const app = createApp({ template: `<p class="hello">Hello World</p>` })
app.mount('#app')
看起來工作正常.
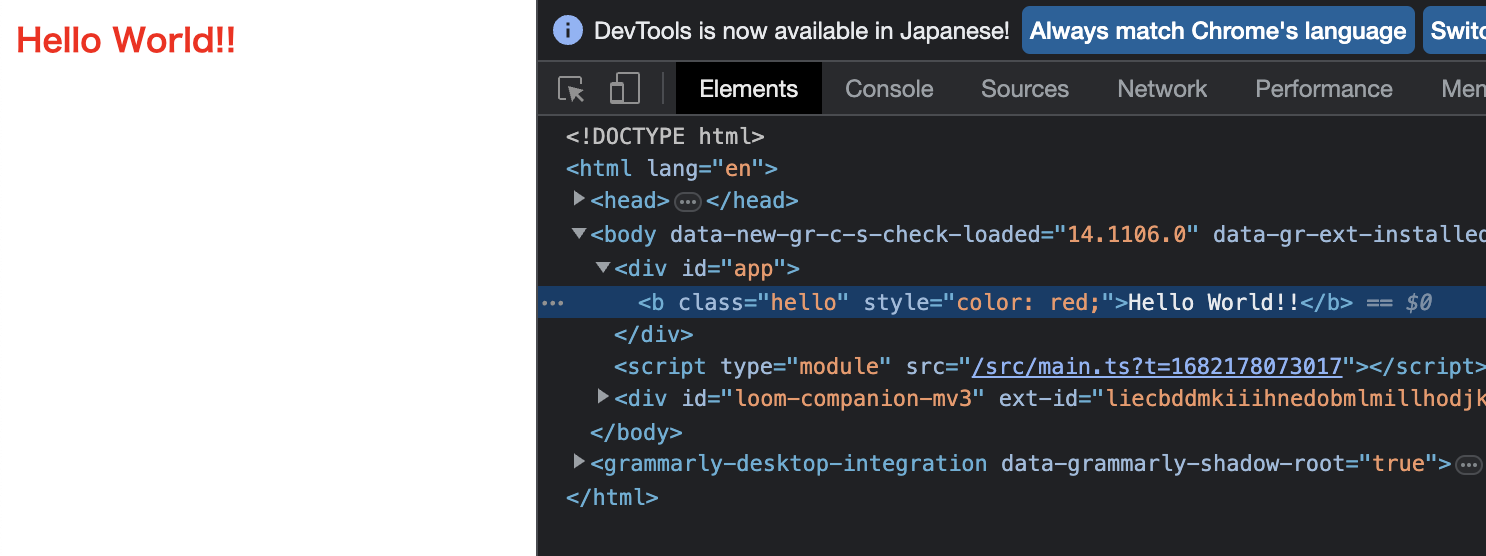
讓我們嘗試做一些更改,看看它們是否得到反映.
const app = createApp({
  template: `<b class="hello" style="color: red;">Hello World!!</b>`,
})
app.mount('#app')
看起來實現正確!
到此為止的原始碼: chibivue (GitHub)
