讓我們支援事件處理器和屬性
僅僅顯示有點孤單
既然有機會,讓我們實現 props,這樣我們就可以使用點擊事件和樣式.
關於這部分,雖然直接在 renderVNode 中實現也可以,但讓我們嘗試在考慮遵循原始設計的同時進行.
請注意原始 Vue.js 的 runtime-dom 目錄.
https://github.com/vuejs/core/tree/main/packages/runtime-dom/src
我希望您特別注意 modules 目錄和 patchProp.ts 文件.
在 modules 目錄內,有用於操作類,樣式和其他 props 的文件. https://github.com/vuejs/core/tree/main/packages/runtime-dom/src/modules
這些都在 patchProp.ts 中組合成一個名為 patchProp 的函數,並混合到 nodeOps 中.
與其用文字解釋,我將嘗試基於這種設計來做.
創建 patchProps 的框架
首先,讓我們創建框架.
pwd # ~
touch packages/runtime-dom/patchProp.ts
runtime-dom/patchProp.ts 的內容
type DOMRendererOptions = RendererOptions<Node, Element>

const onRE = /^on[^a-z]/
export const isOn = (key: string) => onRE.test(key)

export const patchProp: DOMRendererOptions['patchProp'] = (el, key, value) => {
  if (isOn(key)) {
    // patchEvent(el, key, value); // 我們稍後會實現這個
  } else {
    // patchAttr(el, key, value); // 我們稍後會實現這個
  }
}
由於 patchProp 的類型在 RendererOptions 中沒有定義,讓我們定義它.
export interface RendererOptions<
  HostNode = RendererNode,
  HostElement = RendererElement
> {
  // 添加
  patchProp(el: HostElement, key: string, value: any): void;
  .
  .
  .
這樣,我們需要修改 nodeOps 以排除 patchProps 以外的部分.
// 省略 patchProp
export const nodeOps: Omit<RendererOptions, "patchProp"> = {
  createElement: (tagName) => {
    return document.createElement(tagName);
  },
  .
  .
  .
然後,在 runtime-dom/index 中生成渲染器時,讓我們更改為一起傳遞 patchProp.
const { render } = createRenderer({ ...nodeOps, patchProp })事件處理器
讓我們實現 patchEvent.
pwd # ~
mkdir packages/runtime-dom/modules
touch packages/runtime-dom/modules/events.ts
實現 events.ts.
interface Invoker extends EventListener {
  value: EventValue
}

type EventValue = Function

export function addEventListener(
  el: Element,
  event: string,
  handler: EventListener,
) {
  el.addEventListener(event, handler)
}

export function removeEventListener(
  el: Element,
  event: string,
  handler: EventListener,
) {
  el.removeEventListener(event, handler)
}

export function patchEvent(
  el: Element & { _vei?: Record<string, Invoker | undefined> },
  rawName: string,
  value: EventValue | null,
) {
  // vei = vue event invokers
  const invokers = el._vei || (el._vei = {})
  const existingInvoker = invokers[rawName]

  if (value && existingInvoker) {
    // patch
    existingInvoker.value = value
  } else {
    const name = parseName(rawName)
    if (value) {
      // add
      const invoker = (invokers[rawName] = createInvoker(value))
      addEventListener(el, name, invoker)
    } else if (existingInvoker) {
      // remove
      removeEventListener(el, name, existingInvoker)
      invokers[rawName] = undefined
    }
  }
}

function parseName(rawName: string): string {
  return rawName.slice(2).toLocaleLowerCase()
}

function createInvoker(initialValue: EventValue) {
  const invoker: Invoker = (e: Event) => {
    invoker.value(e)
  }
  invoker.value = initialValue
  return invoker
}
這有點長,但如果您拆分它,這是一個非常簡單的代碼.
addEventListener 顧名思義,只是一個用於註冊事件監聽器的函數.
雖然實際上需要在適當的時機刪除它,但我們現在將忽略它.
在 patchEvent 中,我們用一個名為 invoker 的函數包裝監聽器並註冊監聽器.
關於 parseName,它只是通過刪除「on」將 prop 鍵名(如 onClick 和 onInput)轉換為小寫(例如 click,input). 需要注意的一點是,為了不向同一元素添加重複的 addEventListeners,我們將 invoker 添加到名為 _vei(vue event invokers)的元素中.
通過在補丁時更新 existingInvoker.value,我們可以在不添加重複 addEventListeners 的情況下更新處理器.
術語「invoker」簡單地意味著「執行者」.沒有更深的含義;它只是一個存儲將實際執行的處理器的對象.
現在讓我們將其合併到 patchProps 中,並嘗試在 renderVNode 中使用它.
patchProps
export const patchProp: DOMRendererOptions['patchProp'] = (el, key, value) => {
  if (isOn(key)) {
    patchEvent(el, key, value)
  } else {
    // patchAttr(el, key, value); // 我們稍後會實現這個
  }
}
runtime-core/renderer.ts 中的 renderVNode
const {
patchProp: hostPatchProp,
createElement: hostCreateElement,
createText: hostCreateText,
insert: hostInsert,
} = options;
.
.
.
function renderVNode(vnode: VNode | string) {
if (typeof vnode === "string") return hostCreateText(vnode);
const el = hostCreateElement(vnode.type);
// 這裡
Object.entries(vnode.props).forEach(([key, value]) => {
hostPatchProp(el, key, value);
});
.
.
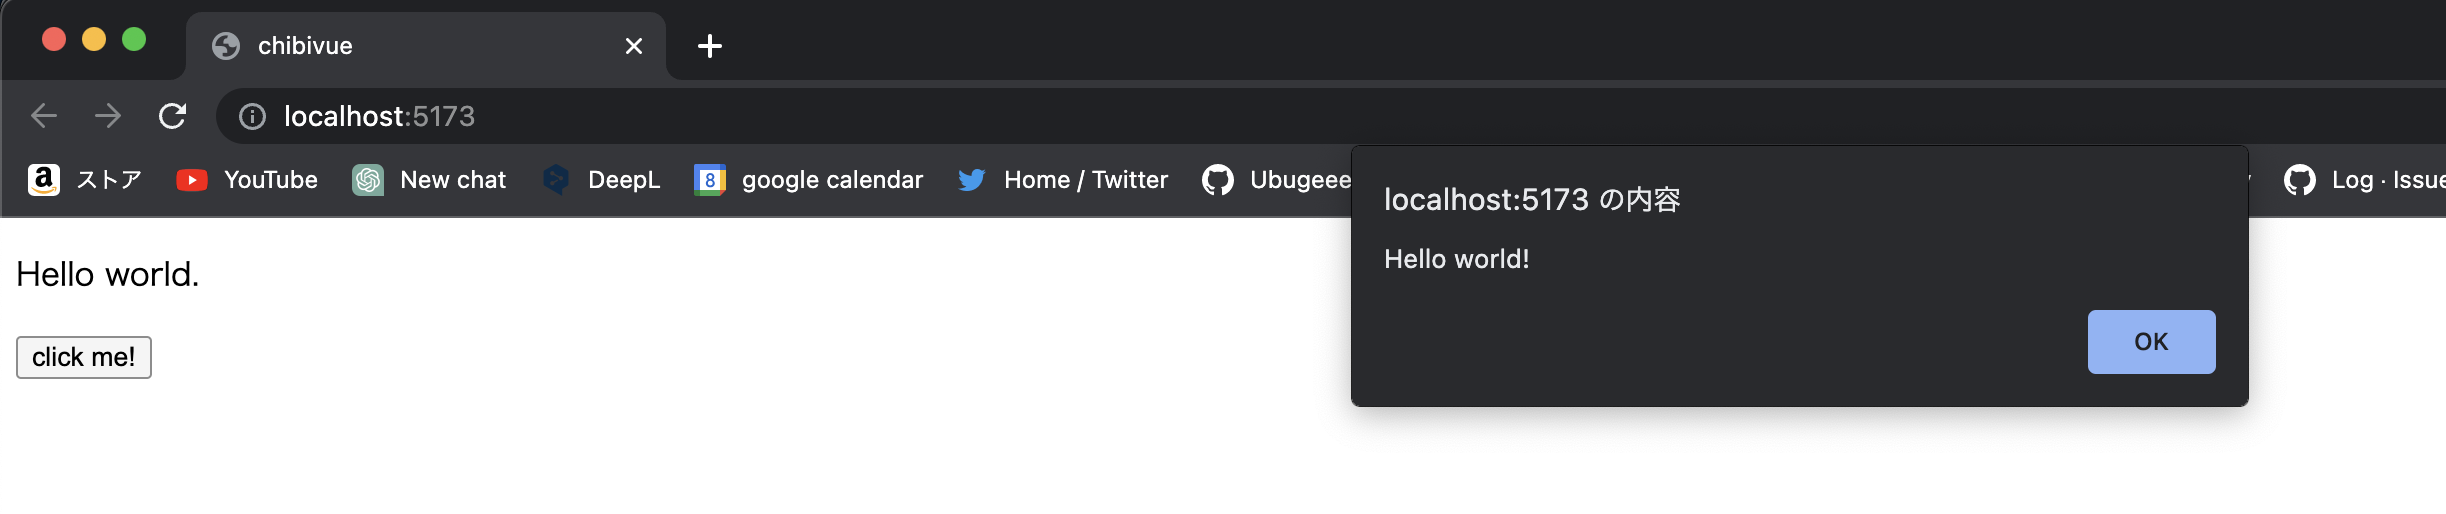
.現在讓我們在遊樂場中運行它.我將嘗試顯示一個簡單的警報.
import { createApp, h } from 'chibivue'

const app = createApp({
  render() {
    return h('div', {}, [
      h('p', {}, ['Hello world.']),
      h(
        'button',
        {
          onClick() {
            alert('Hello world!')
          },
        },
        ['click me!'],
      ),
    ])
  },
})

app.mount('#app')
我們現在可以使用 h 函數註冊事件處理器!
嘗試支援其他 props
在此之後,只需對 setAttribute 做同樣的事情.
我們將在 modules/attrs.ts 中實現這個.
我希望您自己嘗試.答案將在本章末尾的源代碼中附上,所以請在那裡檢查.
一旦您可以使這段代碼工作,您就達到了目標.
import { createApp, h } from 'chibivue'

const app = createApp({
  render() {
    return h('div', { id: 'my-app' }, [
      h('p', { style: 'color: red; font-weight: bold;' }, ['Hello world.']),
      h(
        'button',
        {
          onClick() {
            alert('Hello world!')
          },
        },
        ['click me!'],
      ),
    ])
  },
})

app.mount('#app')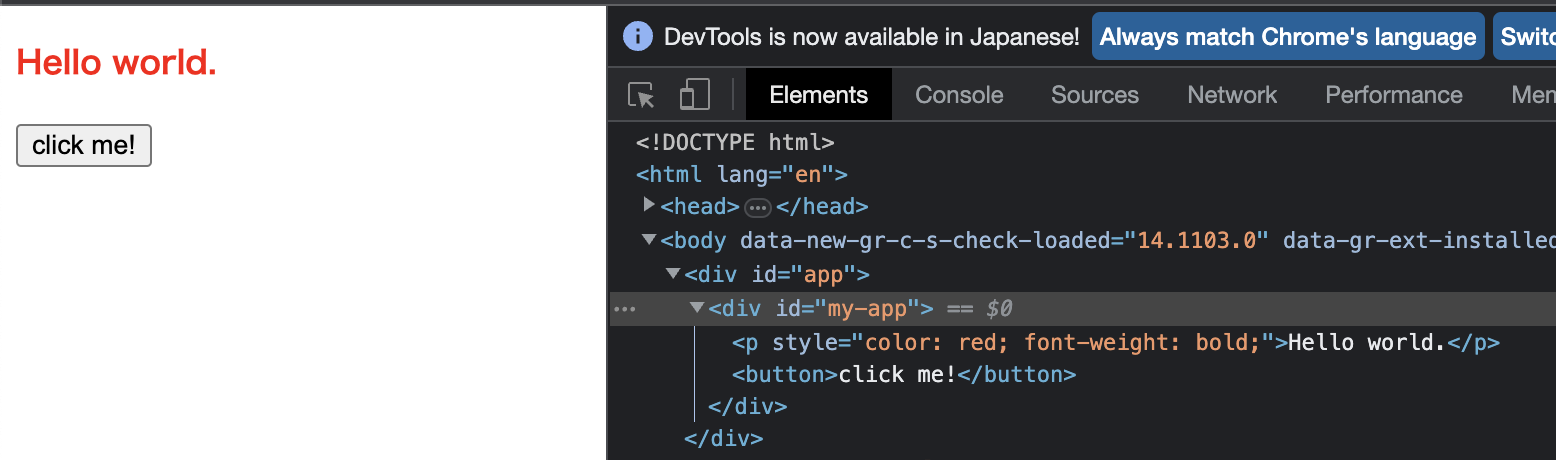
現在我們可以處理廣泛的 HTML!
到此為止的源代碼:
chibivue (GitHub)